FREE: 10 Must-Know Tomato Growing Tips Get The Guide
Read our affiliate disclosure here.
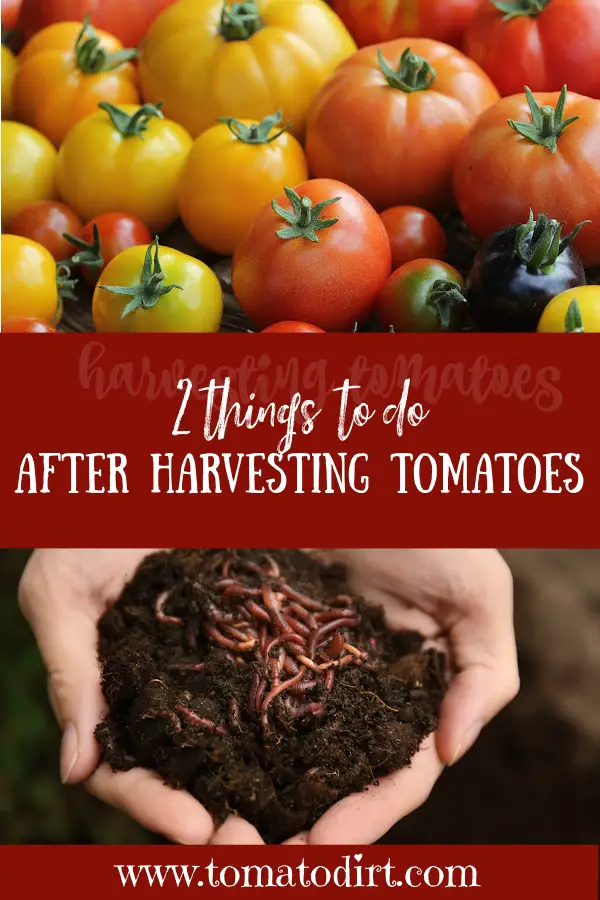
What To Do After Harvesting Tomatoes
Since 2010, Tomato Dirt has garnered 4.8+ million views, making it the web’s leading online source for growing tomatoes in the home garden. Award-winning writer and Tomato Dirt owner Kathy Widenhouse has helped thousands of home gardeners grow healthier tomatoes. Be one of them when you get Tomato Dirt’s Growing Guide here.
Posted 9.4.25
It’s been a prolific year in your vegetable garden. But your gardening tasks are not over.
You’ve got two areas you need to address: your remaining tomatoes and your garden clean-up. Here’s what to do after harvesting tomatoes and your other crops.
1. What to do after harvesting tomatoes: the fruit
What to do with your tomatoes
Sort the fruit
First thing — go through your harvest. Separate the perfect, ready-to-eat
tomatoes from the ones with cracks, bruises, or spots. The “blemished bunch”
should be eaten first or turned into sauce before they spoil.
Handle the green stragglers
You’ll probably have a few green tomatoes left. Don’t toss them! Lay them out
on newspaper or a cardboard box indoors, and they’ll ripen in a week or two. Or
fry them up Southern-style if you’re hungry now.
Store the ripe ones smartly
Never pop ripe tomatoes straight into the fridge unless they’re really about to
turn. Store them in other ways. Keep them on the counter, stem side down, where they’ll taste best. If
you must refrigerate, let them come back to room temp before eating to get the
flavor back.
Save tomato seeds
Save seeds from your best fruit to grow your own plants next
year.
Preserve the extras
Got more than you can eat? That’s a good “problem.” Read on …
How should I preserve tomatoes after harvest?
- Freezing: Tomatoes can be frozen whole, sliced, diced, or pureed.
- Canning: Canning involves processing tomatoes into jars, which are then sealed and stored.
- Dehydrating: Drying tomatoes in an oven or dehydrator preserves them for long-term use.
- Other options: Consider making tomato sauce, salsa, or jam for longer-term storage.
2. What to do after harvesting tomatoes: the garden
What should I do with a tomato plant after harvest?
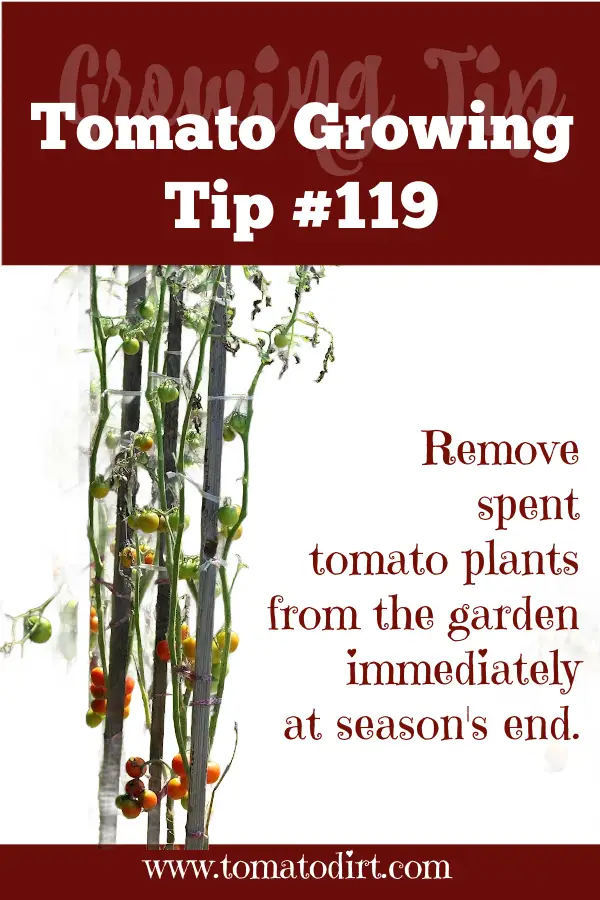
Once your plants are done producing, yank them out. Don’t just leave the skeletons — they can harbor pests and disease. If they look healthy, toss them on the compost pile. If they had a disease (like blight), bag them up and get rid of them.
What should I do with tomato stakes and tomato cages?
Clean your cages, stakes, or trellises with a quick scrub and sun-dry before storing. If your plants had blight, wilt, nematodes, or other diseases, then use a 10% bleach solution as you clean your tomato supports.
What should I add to the soil after growing tomatoes?
Right after you harvest the last of your tomatoes, set up your soil for healthier crops next season. Tomatoes are heavy feeders, so your soil will need a little TLC.
And fall is the perfect time to amend your soil because you’re not racing against spring’s planting deadlines – and organic matter has months to break down.
Just after harvest, add a layer of compost, aged manure, or shredded leaves. You can also turn straw into the soil. Or you can plant a cover crop (clover, vetch, rye, or oats) to restore nitrogen, suppress weeds, and improve soil texture.
A simple formula after tomatoes is: 1–2 inches of compost + a nitrogen-fixer (beans, peas, or clover) + some phosphorus/potassium booster if needed. That way, your soil gets both food and rest.
Why should I rotate crops after growing tomatoes?
Rotating crops after tomatoes is like giving your garden a reset button — pests move on, soil nutrients rebalance, and your next crops thrive.
Tomatoes are magnets for soil-borne diseases like early blight, fusarium wilt, verticillium wilt, and pests like nematodes. These organisms can linger in the soil for years. When you rotate your tomato patch with unrelated crops, you “starve out” those tomato-specific organisms.
Plus, different crops have different nutritional needs. Rotating crops recharges the soil – or at least gives it a rest from dishing out all the nitrogen, phosphorus, and potassium that tomatoes gobble up.
And different crops use the soil in different ways. Root crops (like carrots and beets) naturally aerate and loosen the soil. Cover crops (like clover or rye) add organic matter, improving tilth and water retention. Rotating helps keep the soil from getting compacted or “tired out.”
What are the best crops to plant where tomatoes were this
year?
After growing tomatoes in a particular section of your garden, it’s smart to rotate with crops that break pest and disease cycles (like blight, nematodes, or wilt) and rebuild soil nutrients, since tomatoes are heavy feeders.
Good options are …
- Legumes (beans, peas, lentils), which fix nitrogen back into the soil by replenishing what tomatoes used up.
- Leafy greens like lettuce, spinach, kale, and arugula. They’re light feeders, so they won’t compete with what’s left in the soil. Plus, they can take advantage of the shaded, cooler conditions in early fall after tomatoes.
- Root crops such as carrots, beets, radishes, and turnips – to loosen and aerate soil. Since they grow underground, they don’t attract the same pests as tomatoes.
- Alliums – also root crops (onions, garlic, leeks, chives) naturally repel some pests that tomatoes attract and don’t need the high nitrogen tomatoes do.
For long-term soil health, consider a cover crop like clover, vetch, or rye after tomatoes. These add organic matter, improve soil texture, and suppress weeds until the next main planting season.
What should I avoid planting in this year's tomato spot?
As you look ahead to next season, make note of where you placed your tomato plants in the garden. Avoid using that same area next year for tomatoes and other nightshades, including peppers, potatoes, and eggplants. Nightshades, including tomatoes, attract similar diseases and pests. Planting them in the same area increases the risk of infection.
Will my tomato plants regrow next year?
In very warm climates, tomatoes may rebloom another season. But since tomato plants are annuals, their life cycle is typically up after one year. Plan to start the new season with new seeds or new plants.
Where should I plant tomatoes next year?
Don’t plant tomatoes in the same spot next year. Move them to a different bed if you can — keeps diseases and soil depletion at bay. Think of it as giving the soil a vacation.
What to do after harvesting tomatoes – and after clean-up
At the end of the season, your job is twofold. Enjoy every bite of what you grew, and then give your garden a reset so it’s ready to reward you again next year.
Once those two tasks are behind you, then follow the footsteps of other enthusiastic gardeners – start studying seed catalogs for next year.
More Tips on What To Do After Harvesting Tomatoes
How to Take End-of-Season Notes about Your Tomato Garden ...
When to Remove Tomato Plants in the Fall ...
Preparing Soil for Tomatoes: Frequently Asked Questions ...
3 Mistakes to Avoid When You Prepare Your Garden for Winter ...
How to Winterize Your Garden: It's More Than Just Fall Clean Up ...
Free Download: Fall Cleaning Check List for Your Vegetable Garden ...
Fall Garden Cleanup: the basics ...
Get more tips on our Garden Clean Up Pinterest board...
Return from What To Do After Harvesting Tomatoes to Tomato Dirt home
As an Amazon Associate and Rakuten Advertising affiliate I earn from qualifying purchases.
SHARE THIS PAGE:
FREE! 10 Must-Know Tomato Growing Tips: 20-page guide
Get yours here:


