Fall Tomato Garden Clean Up
Since 2010, Tomato Dirt has garnered 4.8+ million views, making it the web’s leading online source for growing tomatoes in the home garden. Award-winning writer and Tomato Dirt owner Kathy Widenhouse has helped thousands of home gardeners grow healthier tomatoes. Be one of them when you get Tomato Dirt’s Growing Guide here.
Updated 9.13.25
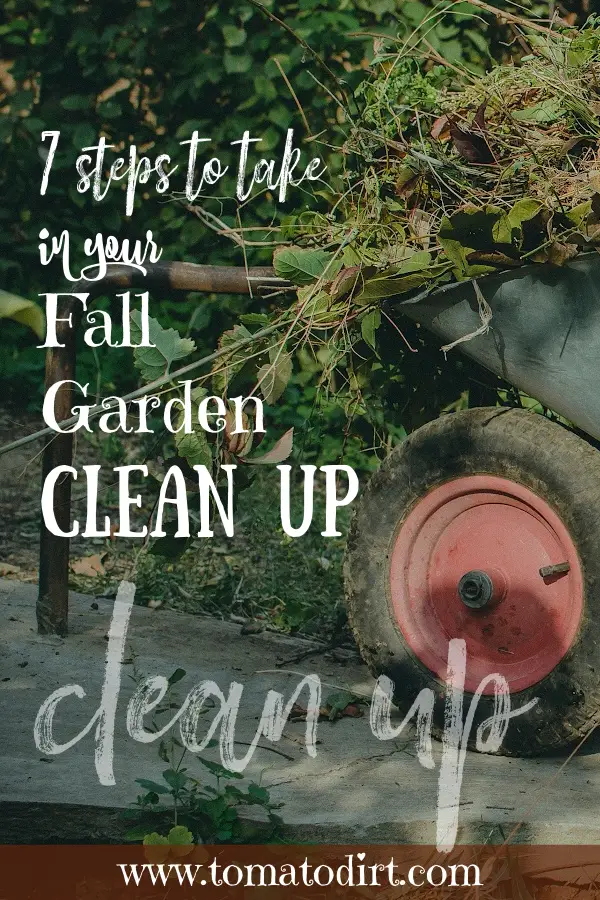
Tomato garden clean up is an important step in getting ready for next season.
Time spent now will pay off big for next year’s tomato plants and for years to come. In fact, garden clean up is essential for the long-term health of your garden. Your soil will be healthier, your equipment will last longer, you’ll have a better plan for next season, and you’ll enjoy a neat garden throughout the winter. (You can download a garden clean up checklist here.)
Here’s the dirt on cleaning up your garden in the fall.
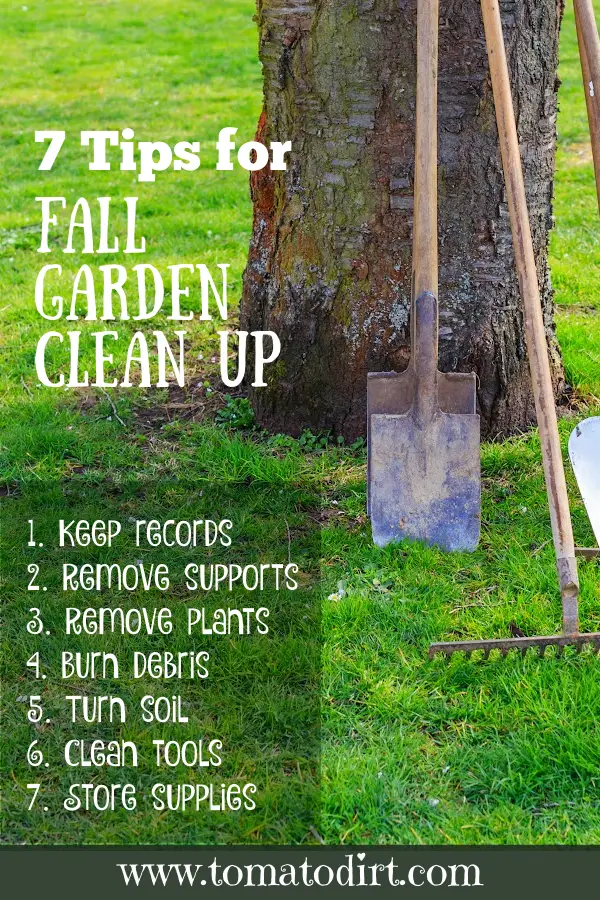
1. Keep Records
Before you begin clearing out your tomato patch, make notes about this year’s layout. Record where you planted tomatoes and what variety in a gardening journal. Note what worked well so you’ll have a log of successful varieties. Your layout records will also help you know where to plant and where not to next year. Crop rotation helps reduce diseases and improve the soil.
2. Remove Supports
Pull out stakes, trellises, and cages. Dispose ties. Remove leftover bits and pieces of vines and leaves. Scrape off excess soil from supports that have been sunk into the ground. Then, disinfect supports with a pump sprayer using a 10% bleach solution and allow them to dry in the sun. Bundle together stakes. Roll or stack cages and trellis material. Store supports indoors to prevent rodents from using them for nests: find a dry, cool corner of your garage, under the deck, or in a shed or barn. Cover securely with a tarp. (More on removing tomato supports.)
3. Remove Plant Materials
Pull up spent tomato plants and weeds, collect dropped or “mummified” fruit, and rake the garden to remove plant remnants. Burn (see below) or discard plant materials, including roots.
It may be tempting to simply till this organic matter into your garden to break down or add it to your compost pile. But beware. Fungi, bacteria, insects, and larvae that affect tomatoes – including septoria leaf spot, early blight, late blight, fusarium wilt, verticillium wilt, and bacterial wilt – overwinter in the garden.
So check your plants. If you see evidence of fungus or wilt, then destroy those plants. But if your crop was healthy throughout the season, then by all means, compost those tomato plants and help cultivate a nice batch of black gold for next season.
By removing tomato plant debris (rather than composting it, working it into the soil, or leaving it until spring) you reduce build up of diseases and pest infestation. Most of the time, interior heat in compost piles does not reach a high enough temperature to kill pathogens. If you compost affected tomato plants or surrounding debris that have been exposed to fungi or bacteria, you risk infecting next season’s tomato plants. Remember that organisms can survive in weeds as well as tomato plants, so any growth surrounding tomato plants should be removed, too. (More on removing tomato plants from the garden.)
4. Burn Debris
You might also consider piling discarded tomato debris in your tomato patch, along with gathered autumn leaves, straw, yard clippings, and other garden remnants. Then burn them. Burning adds wood ash to your garden and also destroys weed seeds, fungi, bacteria, and other microorganisms that overwinter in the soil. Be sure to obtain necessary local permits for burning. Have a working garden hose on hand to contain burning.
The ash helps replace all of the trace minerals in the soil, allowing them to migrate from the roots to the leaves in any plant so when the leaves are burned, the trace metals are in the ash. A good suggestion is to break the ground deeply before you burn. Breaking the hardened soil allows moisture from the winter rains to be deeply absorbed. This step will greatly improve the quality of the soil for your upcoming crop as it will allow the ash (and associated nutrients) to be restored.
If you don't have farm equipment, you may wish to use a middle buster or plow attachment, as most tillers will not penetrate the soil deeply enough to break the hard pan beneath the topsoil. Turning the soil with a spade also works.
Retest soil in the spring to determine its adjusted pH after burning.
5. Turn Over the Soil
A spade or a tiller/cultivator will help aerate the garden and encourage elimination of microorganisms over winter. There’s no need to finely till right now. Save that for spring.
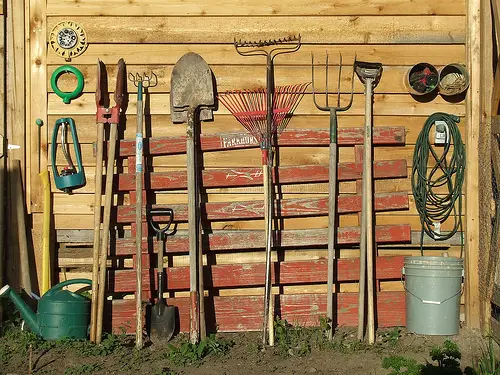
6. Clean Garden Tools
Assemble your wheelbarrow, spades, , trowels, and garden pruners. Rinse off excess soil with a garden hose. Scrub surfaces with disinfectant and a 10% bleach solution.
Allow tools to dry. Oil metal tools to prevent rust. Store tools for winter. Follow manufacturer’s instructions for winterizing power tools.
7. Store Fungicides and Pesticides
Make sure applications are properly labeled and tightly sealed. Place them in a dry, safe location where they won’t freeze.
When to start preparing your tomato garden for winter
It’s a good idea to record your garden layout and notes about this year’s crops throughout the growing season in a gardening journal. You can also clear out garden debris as it accumulates.
Once the first frost has killed local annuals, your garden clean up can press forward in earnest. If you live in an area that doesn’t get frost, take your cue from flower gardens anyway. Watch to see when summer annuals turn brown and die. That tells you it’s time to clean up your tomato garden this year.
More on Fall Garden Clean Up
Free Download: Fall Cleaning Check List for Your Vegetable Garden ...
Tomato Garden Fall Cleaning Checklist, Part 1: Remove Tomato Plants
Tomato Garden Fall Cleaning Checklist, Part 2: Remove Tomato Supports
Tomato Garden Fall Cleaning Checklist, Part 3: Turn, Burn, Mulch ...
The Best Time of Year To Clear a Garden ...
What To Do After Harvesting Tomatoes ...
Preparing Soil for Tomatoes: Frequently Asked Questions ...
3 Mistakes to Avoid When You Prepare Garden for Winter ...
How to Take End of Season Notes about Your Tomato Garden ...
When to Remove Tomato Plants in the Fall ...
How to Winterize Your Garden: It's More Than Just Fall Clean Up ...
Spring Garden Clean Up: Get Your Garden Ready for the Season...
Get more tips on our Garden Clean Up Pinterest board...
More on Harvesting Tomatoes
When should you pick tomatoes? ...
10 tips for ripening tomatoes on the vine ...
How to extend harvest of homegrown tomatoes ...
Green tomatoes and how to ripen them ...
How to save tomato seeds to plant next year ...
Return from Fall Tomato Garden Clean Up to Tomato Dirt home
As an Amazon Associate and Rakuten Advertising affiliate I earn from qualifying purchases.
SHARE THIS PAGE:
FREE! 10 Must-Know Tomato Growing Tips: 20-page guide
Get yours here:
